
KHALIDA'S TOP TIPS FOR WORKING WITH SILK FAN VEILS
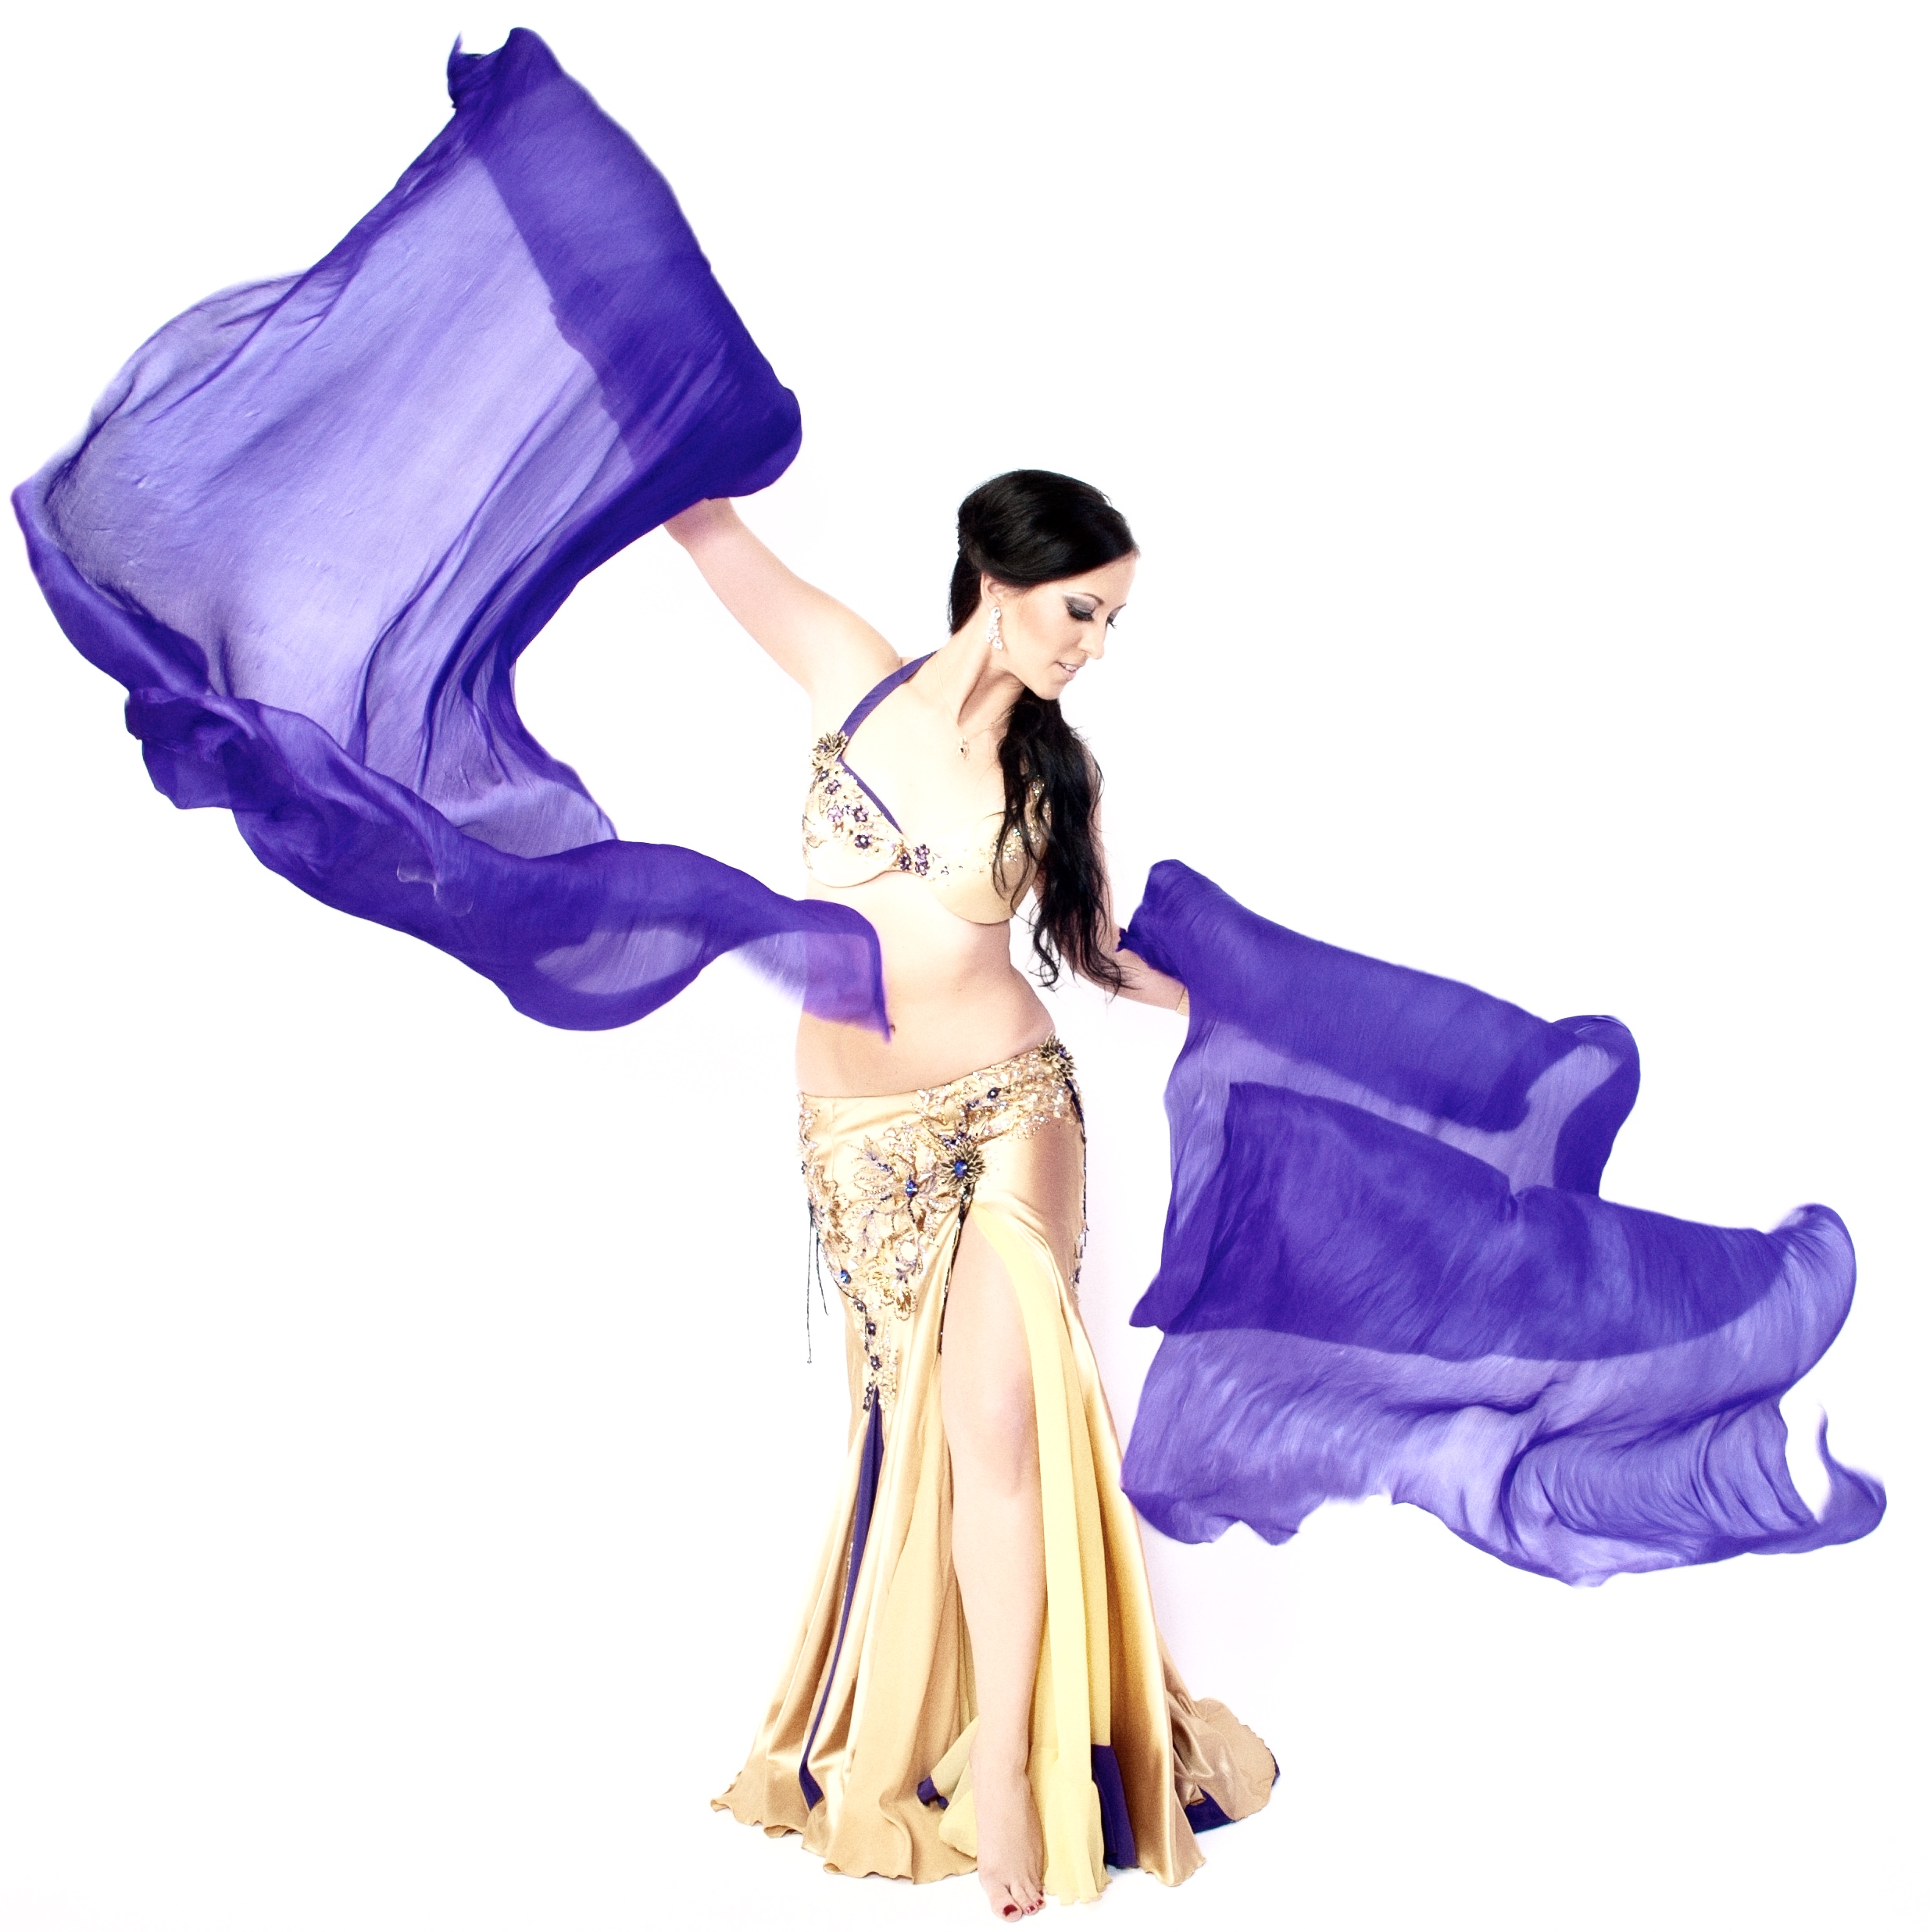
Khalida is a multi-award winning professional belly dance performer and instructor, born in Belgium and living in Germany. With a background in ballet and jazz, she discovered middle eastern dance in 2003. She was the first dancer/instructor to graduate with distinction at Yamila’s 3,5- year professional training for performers/teachers of Middle-Eastern Dance in NL in 2007 and was the first performer to win the ‘Bellydancer of the World’ main category (solo oriental/raqs sharqi) title at Leyla Jouvana‘s international festival in Duisburg.
Known for her musicality, originality, stage presence and technique, Khalida has quickly become a sought-after performer and instructor at local as well as international bellydance events. Students, coachees and dance colleagues describe Khalida as a gifted and generous teacher and an engaging performer with a passion for the art.
I am very happy and honored to share my top tips for working with (and caring for) silk fan veils.
1. Iron your silks (this also goes for regular silk veils) - it will make them move much more smoothly, and steam will help the fabric flow
This is the first thing I do when I get new (silk) veils or fan veils. Ironing silks (test the heat setting - I use the same as for cotton – by ironing a piece of silk from the very edge of the 'tail') will make them look more glossy, and the silk will move much more smoothly, it makes an enormous difference on stage. Be careful not to iron over the glue of the fan.
2. Cut silks to length (chin to toes) for ease of use - normal fabric scissors will do
If you are a short dancer (like me) this can make dancing with silk fans much, much easier. Cutting the silks is easier to do after the silk has been ironed first. (see part 1) Make sure to open the fan completely, and measure your ideal length (for me this is from my chin or nose to the floor/my toes) Then either hang the edge over a table/ironing board or lay it out (open!) on the floor and use normal (fabric) scissors to cut off the excess silk.
If you work with only one fan a very long silk tail is usually no problem, but when dancing with double fan veils cutting them to length will make transitions a bit safer.
Where to buy long silks: I normally use silk fans from ginni.de – you can see them in full length (this video was taken before I shortened them slightly) in action in this video:
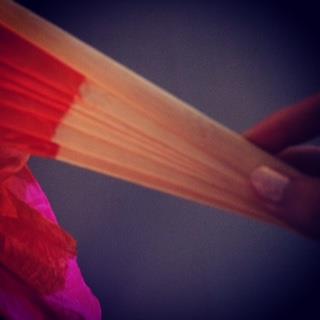
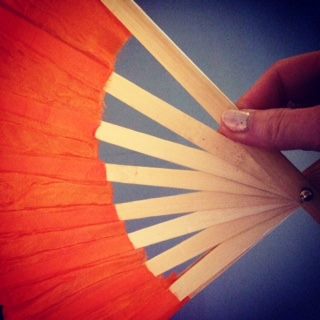
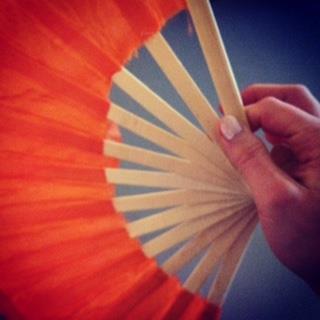
3. Work out your left from right fan (with and without visual help)
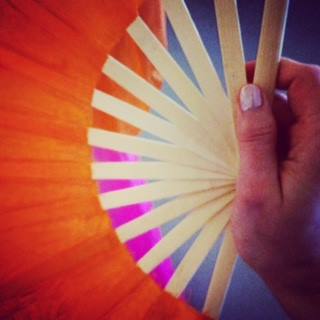
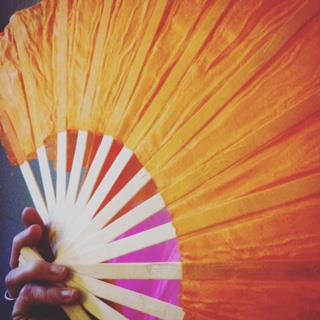
To test whether you have the correct fan for your hand (let's say we are testing with the right hand), take the top edge of the fan on the side of your thumb (see photo), and pinch just the upper 'spoke' between your thumb and index finger. Let the rest of the fan 'drop'. If it opens almost completely you will have the correct fan for your hand (the right one in this case), if it stays nearly closed, you have tested the fan for the other hand (left).

Note: Once you know which fan is for which hand you can 'mark' them on the wood, but it is important to be able to determine which fan you are holding without visual help, as you will not be able to read the marking in a dark back stage area or when you are nervous before performing.
Practising this 'grip test' until you can determine the fan you are holding without looking at it will make dancing with silk fans much easier, over time you'll be able to determine which fan is in which hand (and switching quickly if need be) even while performing, which is an excellent skill to have if you want to start your dance with closed fans.
4. Practice your ideal hold (use the pinkie for 180°!) - it makes a significant difference
Being able to hold your fans completely open is one of the most important things to learn when dancing with silk fan veils. If they don't open completely you will miss out on the maximum effect of the silk, plus it will not move as beautifully in flutters and transitions. To practise a 'full open' you will need to 'grip' your fan very loosely at first, using the thumb and side of your hand (your index finger can be on top of the fan or over to the other side) to pinch the first 'spoke', your hand will then cup the bottom side of the fan (shift your hand/finger position until this works), your fingers will be on the other side of the fan, and the pinkie or ring finger (I use my pinkie normally) will help to push the last 'spoke' open completely.
This may feel tiring at first, but your hands will get used to it. Try to consciously loosen your hold as much as possible, make it your mission to find the least amount of effort needed to hold the fans open.
An alternative way to think of it: Try making a 'fan' with your fingers first, then relaxing the hand slightly. Now place the open fan in the palm of your hand and envelope it with your fingers, holding the last 'spoke' open with your pinkie.
5. Open/close the fans often for 'breaking them in' - this also helps to practise your fan grip and hold
Practising opening and closing the fans repeatedly (left and right) in different directions will help you improve your 'grip' (see above) as well as 'break in' a new set of fans. They will open/close more smoothly over time.

6. Keep contact between the fan edge and your lower arm for smoother movement and 'catching more air'
Keeping this principle in mind (turning your wrist slightly so the 'pinkie side spoke' of the fan keeps in contact with your lower arm at all times when moving the fans) will make transitions and fan movements look more smoothly. The air does not get 'lost' this way, and your arm will automatically move with the fan in unity, not separately. There are a few positions where this does not apply, but in general it works best to keep this arm-fan contact in mind.
7. Rotate the thumbs (and complete lower arms) for flipping/fluttering the fans
This tip is closely related to the one above. When you keep contact between the fan and your arm, you will need to rotate the full lower arm (think of rotating your thumbs from the elbows, see the animated .gif) to get the fan to move. Practise this movement with and without the fans, your hands will get less tired when using this movement principle.

8. Practice, but also play - Create your own fan veil 'poetry'
It is important to practise your technique to make the movements feel comfortable and look polished, but don't forget to 'let loose' and play with the fan movements as often as you can. See what you like. Techniques are like letters and words you learn in a new language, at first you learn with structure, but to create something beautiful it is important to use your own 'voice' and dare to speak/write (move) freely.
9. Try out different kinds of music (tempo, emotion, athmosphere)
The music you use for practise will influence your mood and movement quality, so it is important to 'switch it up' every now and then. Don't only use 'choreography music' to practise your movements. This goes for any dance practise session, not just for working with props/fan veils.
10. Bonus tip: 'Teaching to learn' - helping a dance friend find their flow can aid/inspire your own dancing
I have found that answering other peoples questions helps me find new information for myself as well. Furthermore, it can be fun to practise together with a friend and inspire and motivate each other along the way.
11. Enjoy the magic!
All these (and other) tips for working with silk fan veils can be found in my DVD/Downloadable DVD 'Just the Props – Fanveils with Khalida', which you can find at www.khalidadance.com/DVDs and http://gum.co/fveil
Note: As a reader of this blog, you can use coupon code 'ZEOT' to receive 5% discount on all DVDs and Downloadable Classes via the links above!